Have you ever wondered how eye-catching images are produced where a light source is used to create a range of different light trails on photos? Here, we will explore the fascinating world of light painting photography. It is a unique and creative discipline that combines the artistry of painting with the mechanics of photography.
This article will provide an insight into the fascinating world of light painting photography. It will reveal what it involves so you understand how it is undertaken. This article will give you a theoretical and practical understanding of creative light painting photography.
Table of Contents
Light Painting Explained
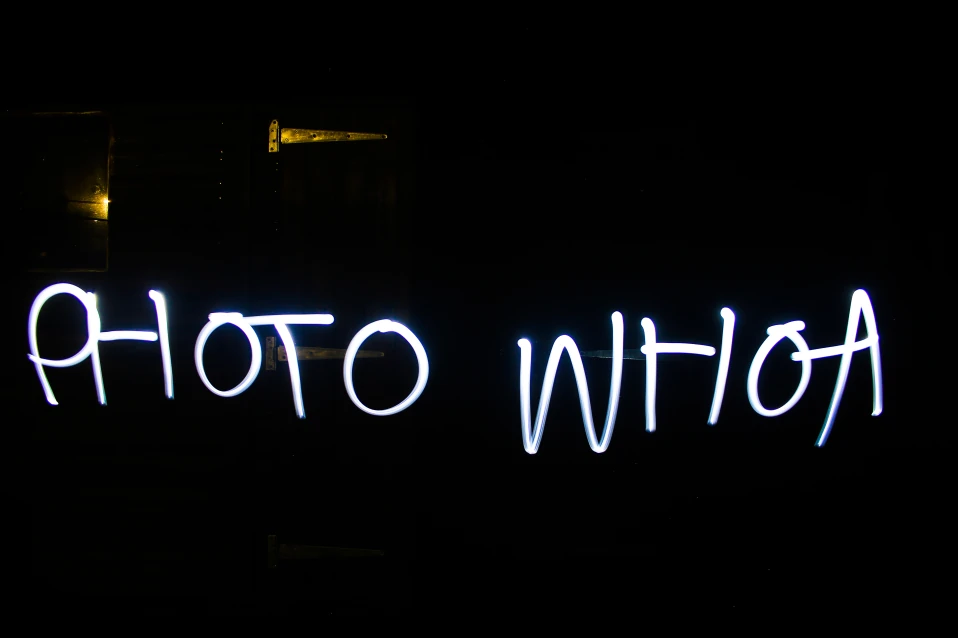
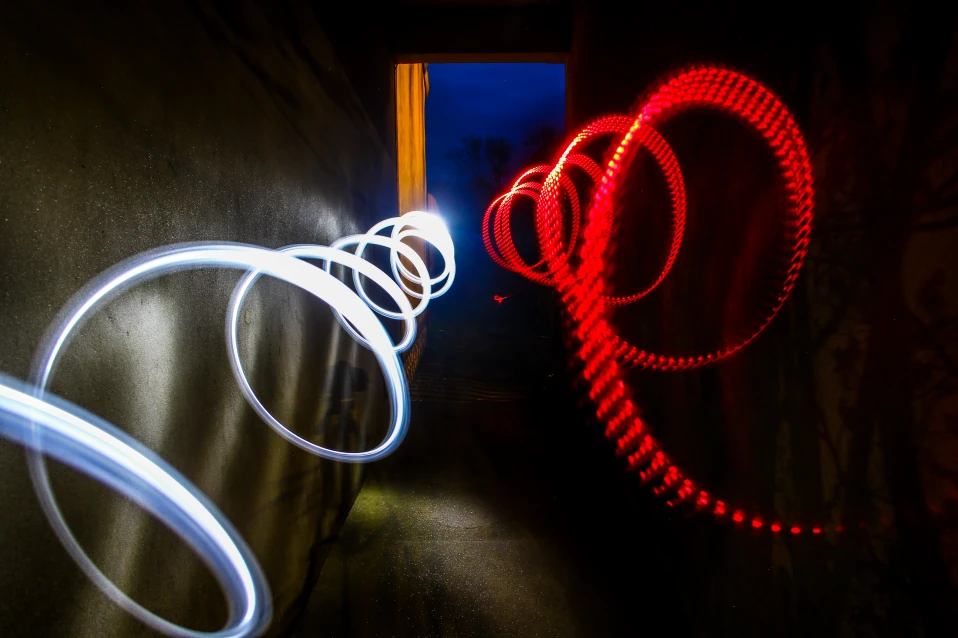
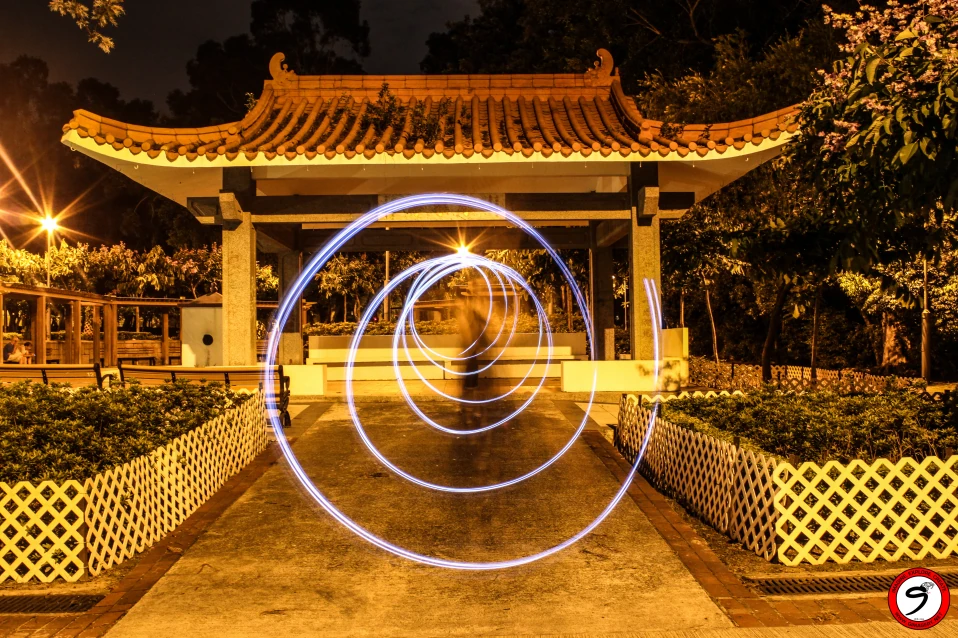
This photographic technique involves creating an image whereby words and things are painted with light. A light source is used to ‘paint’ words or stuff while taking a long-exposure photo. Taking a long-exposure photo in a dark environment allows you to draw something by moving a light source, such as a torch, at the camera. Sometimes, this is referred to as light drawing or light graffiti, but it is generally known as light painting.
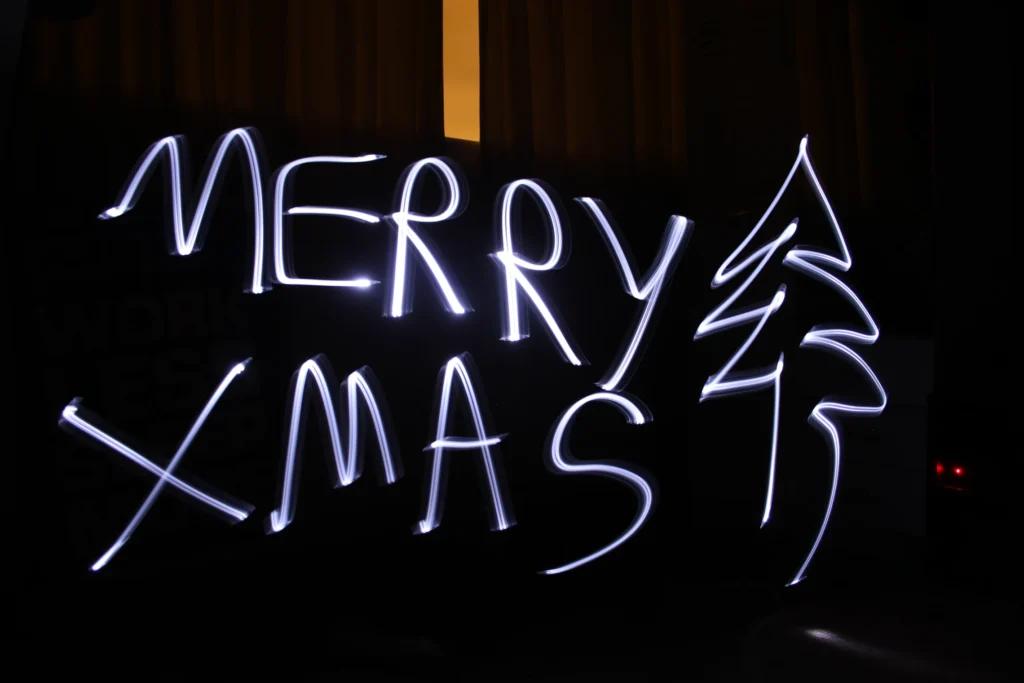
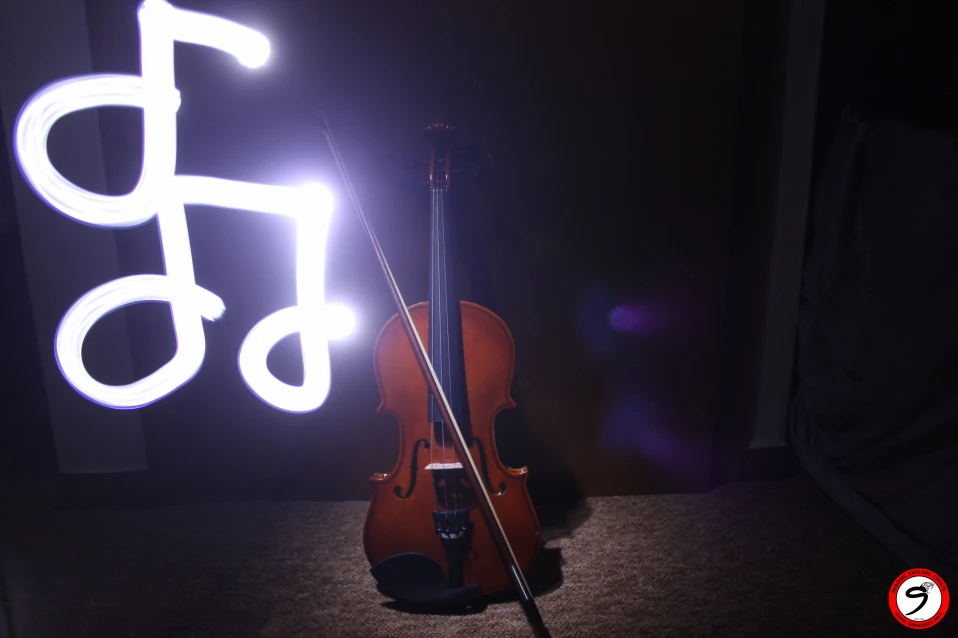
It is also possible to light paint various shapes, patterns, and strokes to create different photos. The principles are all the same. Light painting looks exciting and allows you to impress people. As it is customisable, it unlocks the ability to create something personal. You can make a photo for friends, family, or followers with a personal message, such as wishing them a merry Christmas.
Also check out: The Ultimate Light Tricks Course
The beauty of the light painting technique is that it is an art form. It is comparable to when an artist paints a picture, a musician writes a song and a dancer choreographing a dance. Light painting is an activity and a means of imaginative and creative expression. Light painters are in complete creative control because they determine the outcome of the image.
Also check out: Masterclass: Easy Yet Powerful Studio Lighting Tutorial
The Theory Behind it
Light painting falls under the long exposure photography category. A long exposure is when a camera continuously takes one image for a long time. To enable a camera to do this, the ISO, aperture, and shutter speed must be set appropriately to get a good exposure. All three settings play a part in controlling the exposure of an image.
The shutter speed is an important setting that makes long exposure light painting photography possible. A long exposure is when a camera has the shutter open for an extended time. This is to let in further light to the camera sensor. It allows images to be taken at night and in low-light conditions. Long exposures require a long shutter speed, also known as a slow shutter speed. When using bulb mode, this can range from 1 to 30 seconds or even for numerous minutes. Taking images with such lengths of time results in the ability to create light painting photos. Any moving light source will appear on the image as a light trail. This allows light painters to create exciting effects where words, patterns or shapes are painted with a light source.
In short, light painting photography is all about manipulation. It combines a long exposure with light sources to produce a creative photo.
Also read: How to Build Your Own Monster LED Panel
Equipment Needed
The equipment needed to take light painting photos is minimal. All you need is a camera, a tripod and a light source.
Camera: Any camera that can manually adjust the ISO, aperture, and shutter speed settings can be used. Most digital cameras have this functionality, but typically, this would be a DSLR or mirrorless camera.
Tripod: Pairing your camera with a sturdy tripod is a must. It is the most critical equipment needed to shoot creative light painting photography. This three-legged stand will stabilise your camera, prevent camera shaking, and give you flexibility for positioning.
Light source: This is the tool used to create the effects of light painting photography. You can use a wide range of light sources. Any device that projects or emits light can be used to light paint. The exciting thing is that different light sources create a distinct look and effect. Your choice of light source will significantly influence the outcome of the image. Be sure to consider using a light source with colour, as it can make your light painting photo extra captivating.
Also check out: Speed Light Magic eBook
Different Light Sources
As stated, you can use anything that projects or emits light for light painting night photography. Some examples are torches, sparklers, light painting tubes, light painting brushes, string lights and glow sticks. Experiment with different light sources and discover how they can satisfy your creativity. The following is a brief explanation of two of the most commonly used light sources in creative light painting photography:
Torch: This is a simple and effective way to produce a light painting. A torch is widely accessible, cheap and easy to use. Any battery-powered LED light that comfortably fits in your hand and has a push button will do the job. There is one crucial feature it must have. It must have an on/off push button in a position that is easy to press.
Also, check out 20 Creative Ideas For Motion Photography
Light painting tube: This is a hollow plastic tube that a torch joins. The torch illuminates the tube’s colour. They are available in various lengths and a selection of different colours. Some examples of the different types of tubes are diffused, naked, star battle, holly, complimentary, tri-colour, rainbow, and dark matter. All the other types will produce a distinct look in an image.
Also read: Easy Ways To Get Studio-Quality Portraits Using Only Natural Light.
An Outline of the Light Painting Photoshoot Process
The following are the steps to produce a light painting photo. This is to provide an understanding of undertaking a light painting.
- Plan your idea
- Decide on your location
- Get your equipment together
- Go to the location
- Choose where you will light paint and put your camera
- Put your camera down and make the settings
- Set your camera focus
- Take some test shots
- When ready, do the light painting for your photo
- Analyze your photo/s taken
- Make any adjustments needed
Also read: How to Achieve Spectacular Lighting for Product Shoots
Keen to Continue Your Journey?
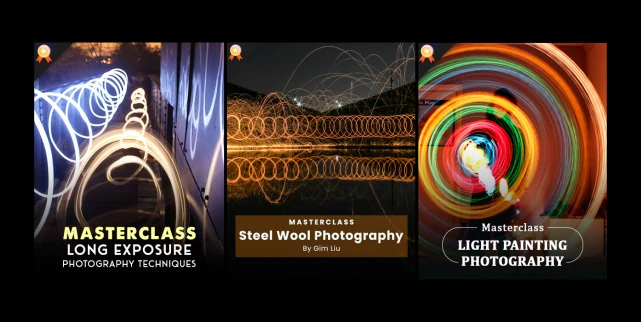
As this article concludes, I hope you are inspired to continue your journey in this discipline. With the information in this article, you are equipped to explore and develop your skills in light painting. If you want to delve deeper into light painting in greater detail, here at PhotoWhoa, we offer a range of masterclasses in this field. We have a masterclass on creative light painting photography, along with the subjects of steel wool/wire wool and long exposure. You can take these masterclasses HERE.
If you are interested in the discipline of long exposure photography, an e-book that may interest you is ‘A Beginner’s Guide To After Dark Photography with Gimagery’, which you can get exclusively on PhotoWhoa HERE. This is a comprehensive guide to the discipline and everything you need to know to master it.