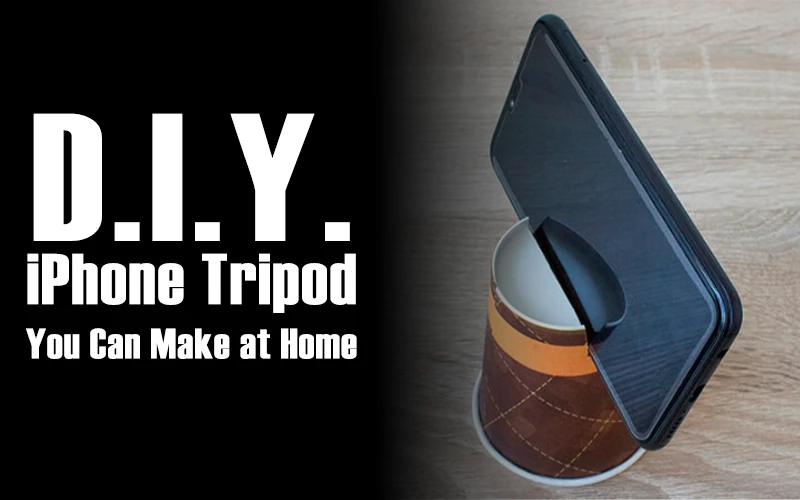
Are you tired of holding your iPhone whenever you want to record a video or take a picture? Buying a tripod can be expensive. But the good thing is that you can make your own DIY iPhone tripod at home!
This blog will show you easy DIY iPhone tripod ideas you can create with things you likely already have in the house. These DIY options allow you to record videos for social media, take stable selfies, and join hands-free video calls without holding your phone.
They are simple, cheap, and perfect for capturing stable videos or photos. Let’s get started!

Table of contents
Why Use DIY iPhone Tripods?
1. Take steadier shots: This is especially helpful for low-light conditions or when you want to capture a lot of detail.
2. Create time-lapse videos: Time-lapse videos require a stable camera to capture smooth footage.
3. Affordable: You don’t need to spend money on expensive tripods. These DIY solutions can be made with materials you already have at home.
4. Easy to Make: You don’t need fancy tools or advanced skills to create these tripods. In just a few minutes, you’ll have a fully functional tripod.
5. Eco-friendly: By reusing old items like bottles and cardboard, you’re also reducing waste and helping the environment.
6. Portable: These DIY tripods are lightweight and easy to carry so you can take them anywhere.
Also read: 10 Best Photography Portfolio Websites to Showcase Your Work
How To Make DIY Paper Cup iPhone Tripod
This is one of the easiest ways to make a tripod at home. You probably have a few paper cups at home, which might be handy. So, we will go through the simplest process of creating a tripod at home.
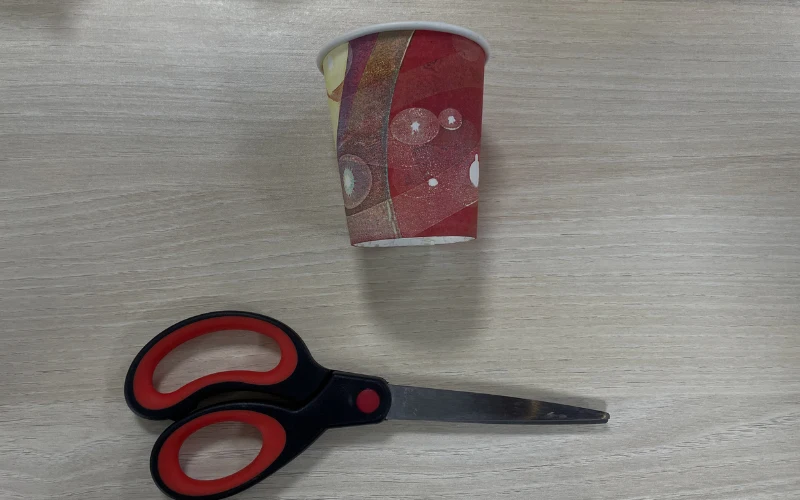
Things you’ll need:
- Paper Cup
- Scissor
There are two ways to make a tripod using a paper cup.
Also read: Halloween Photo Booth Ideas for Spooky Fun at Your Party
1. Slanting Phone Tripod
Take a cup or something similar. You can also take a plastic cup to make the tripod.
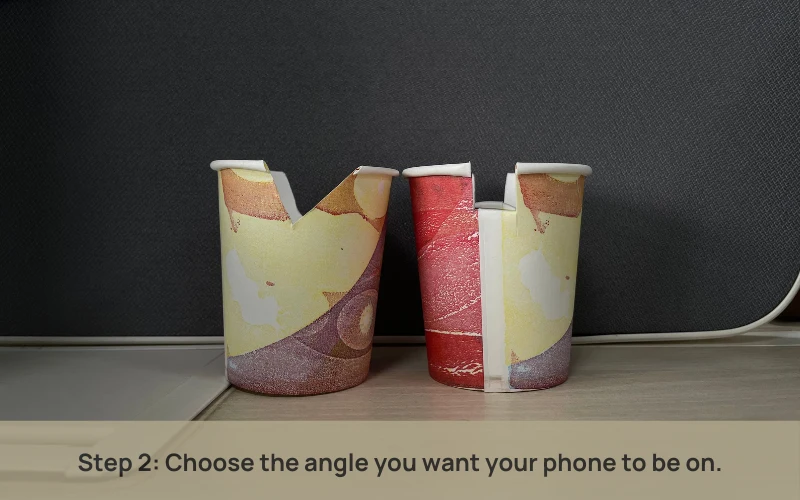
You can either keep your phone straight or in a slanting position. To tilt your phone, choose the cup on the left side.
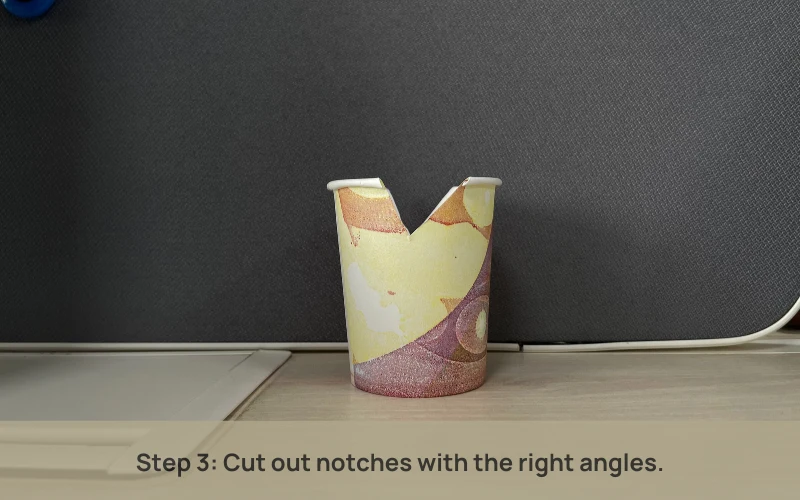
After taking the cup, cut out notches, as shown in the image. Cut them according to the angle you want your phone to be in. And make sure both the cutouts are exactly the same.
That’s it; your DIY slanting iPhone tripod is ready within minutes.
2. Straight Phone Tripod
Now, let’s make an iPhone tripod which can hold your phone straight.
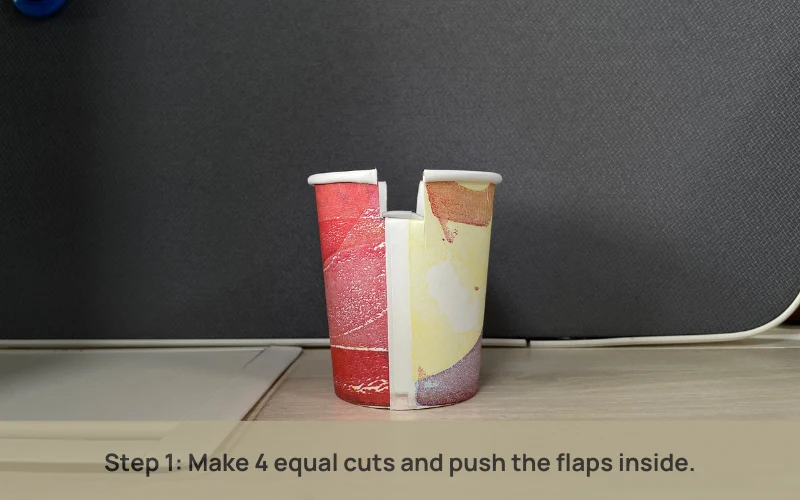
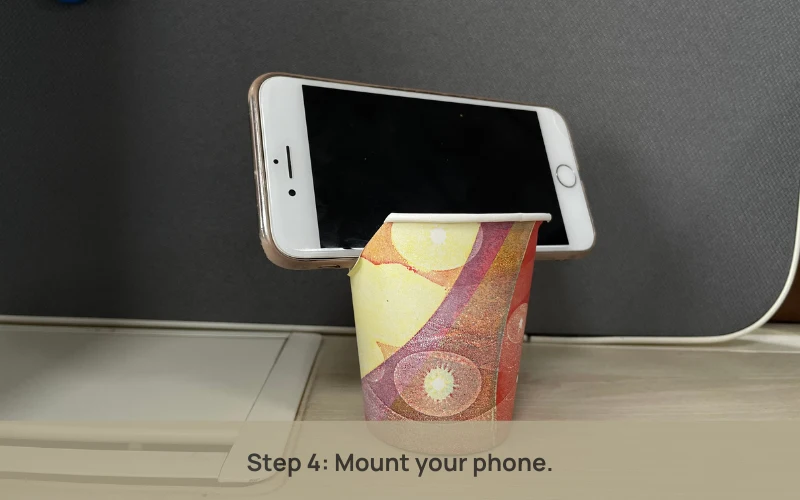
Take a cup and make four symmetrical cuts on both sides of the cup.
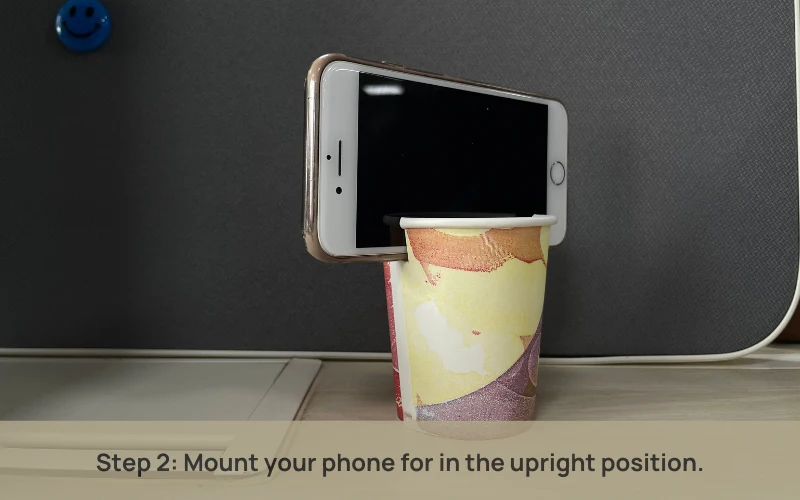
Your straight-phone tripod is ready! Just mount your phone on it and start clicking photos. You can also put heavy things like a rock or sand in the cup for better stability.
You now have a fully operational homemade iPhone tripod! This highly efficient and cost-effective solution is ideal for anyone. This is the easiest and most convenient option among various DIY iPhone stand ideas.
Also read: A Beginner’s Guide to the Indispensable Exposure Triangle
Tips for Better DIY Tripods
Making your tripod can be easy, but there are a few tips to keep in mind to improve the quality of your photos and videos.
1. Find a Stable Surface: Ensure your DIY tripod is placed on a steady, even surface to avoid potential instability that could result in blurry photos or a fallen phone.
2. Use Lightweight Materials Carefully: If you opt for lightweight materials like paper cups or bottles, prevent them from tipping over. You can stabilize the tripod by adding extra weight to the base, such as placing a few coins in the bottom of a paper cup.
3. Test the Angle: Before capturing photos or videos, verify the angle of your phone, as minor adjustments in position can significantly impact the quality of your pictures.
4. Don’t Block the Camera: Before taking any shots, double-check that nothing obstructs your phone’s camera to ensure a clear view, whether it’s a paper cup, a binder clip, or any other material.
5. Adjust for Height: If you need to elevate your tripod, stack items to achieve the desired height. For example, placing the paper cup tripod on a small box can help you achieve a better angle.
Also read: 15 Unique Halloween Photoshoot Ideas For Adults To Try This Year
Conclusion
Making your own DIY iPhone tripod is not only fun but also useful. Whether you are a student, a vlogger, or just someone who loves taking pictures, these simple tripods can help you capture the perfect shot without spending any money.
You can capture clear videos and photos with creativity and basic supplies! Happy filming!
If you enjoyed reading this article, check out our other blogs: